
Table of Contents
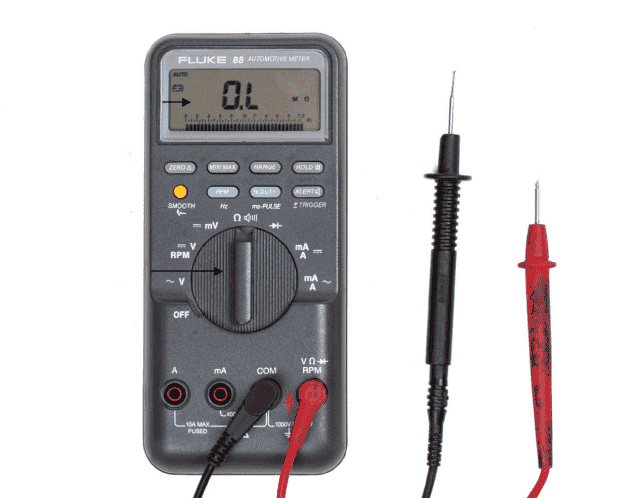
Multimeters are indispensable tools for electronics enthusiasts, engineers, and professionals alike. When working with these devices, you may encounter various readings, and one particularly perplexing notation is “OL.”
This article will delve into the meaning of “OL” readings on multimeters, exploring its significance across different measurement scenarios. Whether you are a student, a novice, or an experienced user seeking to enhance your knowledge, this guide aims to demystify the “OL.”
What Does “OL” Mean?
What Does “OL” Mean on a Multimeter? “OL” typically stands for “Overload” or “Out of Range” in the context of multimeters. It indicates that the measured parameter exceeds the current range setting of the multimeter, rendering it unable to provide an accurate reading within that range.
Understanding “OL” Readings in Various Measurement Scenarios:
- Resistance Measurement: When attempting to measure the resistance of a component, the “OL” reading may occur if the resistance value is higher than the maximum range of the multimeter. This could happen when measuring very high resistance values that exceed the meter’s limit. Similarly, “OL” could also appear when measuring shallow resistance values, as they fall below the minimum detectable limit.
- Continuity Testing: Continuity testing determines if an electric path is unbroken. If an “OL” reading occurs during continuity testing, it signifies that the circuit is not complete and there is an interruption in the path.
- Voltage Measurement: In voltage measurements, an “OL” reading can occur when the voltage being measured is beyond the range of the multimeter. This could be due to excessively high or low voltages outside the selected measurement range.
Differentiating Between “OL” and “0” Readings:
- “OL” indicates that the measured parameter is outside the valid range of the multimeter.
- “0” typically represents a completed circuit or continuity, suggesting that current flows between the probes or points being tested.
Troubleshooting “OL” Readings:
- Adjust Range Setting: If you encounter an “OL” reading, try adjusting the range setting on the multimeter to a higher or lower value depending on the expected measurement. This might allow you to obtain a valid reading.
- Check Components: Ensure that the component you are testing is functional and within the measurable range of the multimeter.
- Probe Connections: Verify that the test probes are correctly connected and make good contact with the test points.
Finale: The “OL” reading on a multimeter is a crucial indicator that the measured parameter is beyond the current range of the device. Understanding the implications of “OL” readings is essential for accurate measurements and troubleshooting. By grasping the concepts discussed in this article, you’ll be better equipped to navigate multimeter readings and make informed decisions while working with electronic circuits and components.