
Table of Contents
Cold solder joints, a seemingly successful solder joint hiding a weak, brittle connection, are the silent culprit behind malfunctions in countless electronic devices. This article explores cold solder, its causes, and how to troubleshoot and prevent it for reliable electronic projects.
What is Cold Solder?
A cold solder joint occurs when the solder doesn’t melt entirely during the soldering process. This results in a weak, brittle connection that may appear visually sound but can lead to electrical malfunctions, intermittent issues, or complete circuit failure. Cold solder joints are often challenging to diagnose as they might not exhibit immediate problems. However, over time, they can degrade and cause frustration when troubleshooting electronic devices.
Why Does Cold-Solder Happen?
Several factors can contribute to cold-solder formation:
- Insufficient Heat: The most common culprit is inadequate heat applied to the joined components. A soldering iron must reach the correct temperature for the specific solder. Using a low-wattage iron or not allowing the tip to reach its working temperature can result in insufficient heat transfer to the solder and components.
- Improper Cleaning: Neglecting to clean the surfaces of the components can have serious consequences. Dirty or oxidized surfaces hinder proper solder flow and adhesion. Contaminants like grease, oil, or even leftover flux residue can prevent a strong bond from forming, leading to cold solder formation.
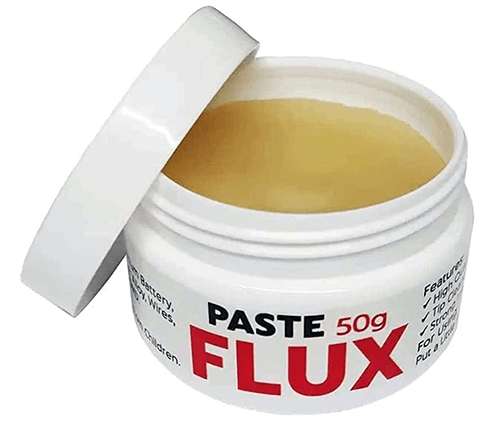
- Lack of Flux: Flux is a crucial element in the soldering process. It cleanses surfaces, promotes solder flow, and aids in creating a solid connection. Skipping or using insufficient flux can lead to a weak bond susceptible to becoming a cold solder joint.
- Improper Technique: Applying too much or too little solder, moving the iron tip excessively, or not holding the components together firmly during the soldering process can all contribute to cold solder formation.
Identifying Cold Solder Joints
While a visual inspection might not definitively reveal a cold-solder joint, some telltale signs can raise suspicion:
- Dull or grainy appearance: A properly soldered joint has a smooth, shiny surface. Cold solder joints often appear dull, rough, or grainy.
- Uneven or poorly formed joint: The solder may not flow evenly around the component lead, resulting in a weak connection.
- Brittle solder: Cold solder is often more fragile and may crumble when prodded with a tool.
If you suspect a cold-solder joint might be causing issues in your circuit, it’s best to reflow the solder joint using proper techniques.
How to Fix Cold Solder Joints
Fixing a cold solder joint involves resoldering the connection. Here’s what you’ll need:
- Soldering iron with a clean tip at the appropriate temperature for the solder
- Fresh solder
- Flux
- Desoldering braid (optional)
- Remove any existing solder: If there’s a significant amount of solder on the joint, use a desoldering braid to remove the bulk of it. Be careful not to overheat the components.
- Clean the connection points: Apply flux to the component leads and the PCB pad to remove contaminants.
- Reheat the joint: Apply heat from the soldering iron tip to the component lead and the PCB pad simultaneously.
- Apply solder: Introduce a small amount once the connection reaches the appropriate temperature. Allow it to flow freely and coat the joint evenly.
- Inspect and remove excess: Once the solder solidifies, inspect the joint for proper formation and remove any excess with the wick or snipping tool.
How to Prevent Cold-Solder Joints
Here are some essential practices to prevent cold solder joints from forming in the first place:
- Use the right tools: Invest in a good quality soldering iron with adjustable temperature control and a tip appropriate for the project.
- Cleanliness is vital: Always clean the component leads and PCB pads with appropriate cleaning agents before soldering.
- Proper tip maintenance: Regularly clean and tin the soldering iron tip to ensure optimal heat transfer and solder flow.
- Apply the right amount of flux: Use a thin layer of flux and avoid over-applying it, which can cause splatter or damage to components.
- Proper soldering technique: Heat both components simultaneously, use the right amount of solder, and maintain a steady hand while applying the solder.
- Practice good soldering hygiene: Avoid touching the soldering tip or molten solder with your bare hands.
By following these tips and developing good soldering habits, you can minimize the risk of cold solder joints and ensure the reliability and longevity of your electronic projects. Remember, a successful solder joint should be smooth and shiny and form a solid mechanical and electrical connection.